Finance Module

Objectives:

The objective of the Finance module in the BRLPS ERP MST project is to establish a comprehensive and streamlined financial management system that encompasses various key functions. This module aims to provide detailed head-wise bifurcation of reports at district and project levels, facilitate inter-project and inter-district transfers with approval processes, generate financial reports for specific intervals, and manage financial aspects such as expenditure, liability, and advances. It further incorporates features like budget management, assets management, and disaster management, ensuring compliance with statutory payments through the deduction of GST, TDS, PT, and EPF. The Finance module also focuses on data safety, real-time transaction alerts, aging of advances, and customizable dashboards, contributing to effective financial planning, monitoring, and reporting across different organizational levels from state to district and block.

Scope:

  • Track finances: Head, district, project, compliance.
  • Streamline transactions: CBO payments, transfers, budgets, assets.
  • Tax & compliance: Reports, regulations, PFMS integration.
  • Secure & prepared: Data protection, disaster recovery.
  • Integrate & share: CBO-MIS, APIs, partners, opening balances.
  • Maintain & support: Bug fixes, training, technical help.

Features:

  • Comprehensive reporting: Track finances across accounts, districts, projects, and compliance needs.
  • Streamlined transactions: Manage CBO payments, transfers, budgets, and assets efficiently.
  • Tax and compliance support: Generate reports, ensure adherence to regulations, and integrate with PFMS.
  • Data security and disaster preparedness: Protect data and support financial response to disasters.
  • CBO-MIS and API integration: Share data seamlessly and connect with external stakeholders.
  • Additional features: Generate utilization certificates, track partner finances, import opening balances, and more.

Screens of Application

User Login & User Profile

User Login

Employee ID is assigned as a user ID and password by default; the user can change his password later, to login the ID-

  1. User should enter the Employee ID as a username & password
  2. Click the login button for login

User Profile

Users can add/update their profile details go to the ‘My Profile’ option at the top right corner in the dashboard screen.
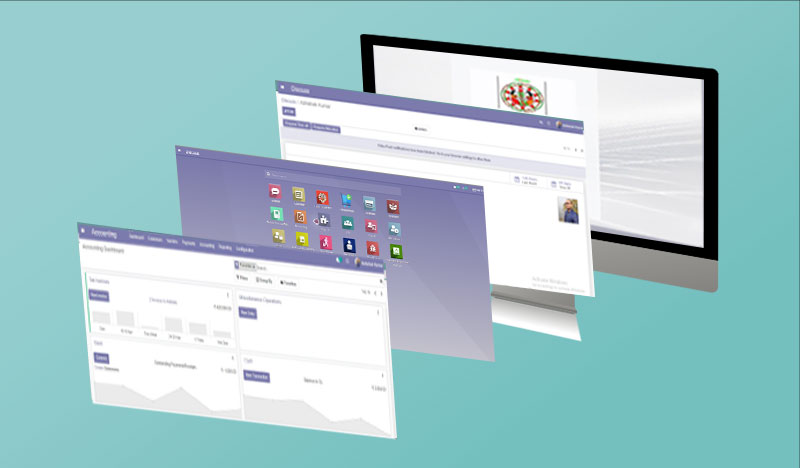
Menu & Accounting

Menu

All models relevant to the employee's post will be displayed here- (Discuss, Calender, Tour/Travel, Accounting, Project, HR, Attendance, and Leave)

  1. The entire modules will be displayed after clicking the menu button at the upper left of the screen
  2. Employees can access that module by clicking on the module's name

Accounting:

There are several sections in the 'Accounting' module (Dashboard, Vendors, Payments, Accounting, Reporting, and Configuration)

  1. Employees can access that section by clicking on the section's name
Dashboard:

In future, relevant data will be displayed in the 'Dashboard' screen based on defined data indicators.

  1. To view the data, users can click on the ‘Dashboard’ tab
Vendors:

Vendors and Bills are the two main sub-sections of the Vendor selection. Users can create new vendors and update the vendors' information in the Vendors section, and all types of bills will be generated in the Bills section.

Users can follow these steps to create new vendor-

  1. It is necessary to fill out all of the highlighted information, otherwise the form will not be submitted
  2. Click on the ‘Create’ tab at the top of the screen
  3. First of all select the vendor Individual or Company
  4. Select the vendor type (Vendor(both), Service Provider, and Goods Supplier)
  5. Fill in the required vendor information via text entry or dropdown selection
  6. Upload the vendor's image using the photo upload functionality and click Save
Update Vendor Information

Users can follow these steps to update the vendor information.

  1. Go to the vendor list page
  2. Click on the vendor’s name whose information users want to update
  3. Click on the ‘Edit’ tab at top of the screen
  4. Update the vendor information that needs to be updated
  5. Update the vendor information that needs to be updated
  6. After updating the information, click on the 'Save' button
Bills

Users can view the generated all vendor bills in the Bills section. Users can view the bills in either a list or a kanban view. Filters, Group by and Favorites option is also there.

  1. To view more information about the bill, click on their names.

Create Vendor Bill: Users can follow these steps to create new vendor bill.

  1. It is necessary to fill out all of the highlighted information, otherwise the form will not be submitted
  2. Click on the ‘Create’ tab at the top of the screen
  3. Fill in the required bills information via text entry or dropdown selection
  4. Attach the bill document if any
  5. Click on the ‘Add a line’ option at bottom of the screen and select the Expense account and fill in the expense amount. click Add and Save.
up